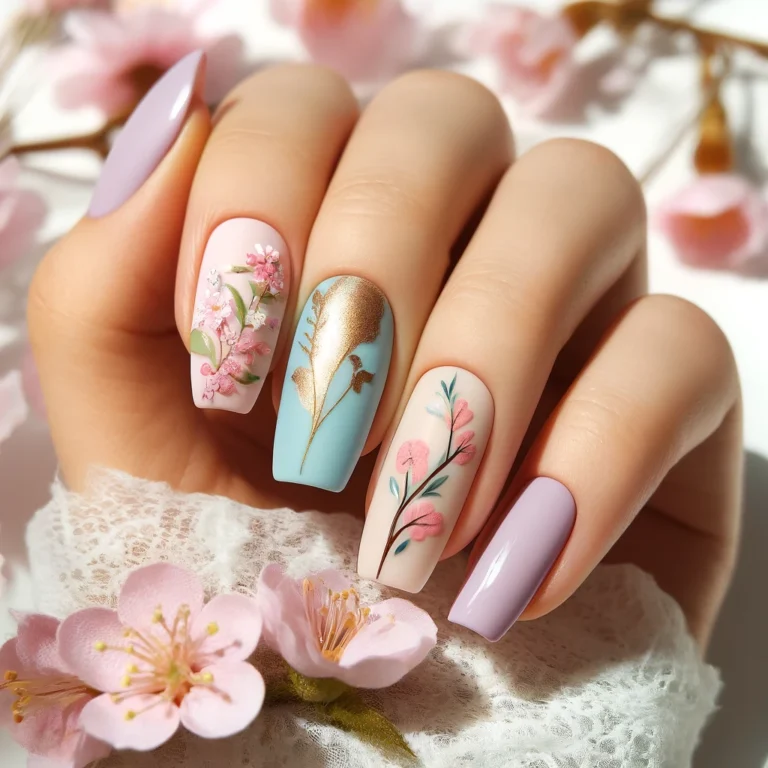
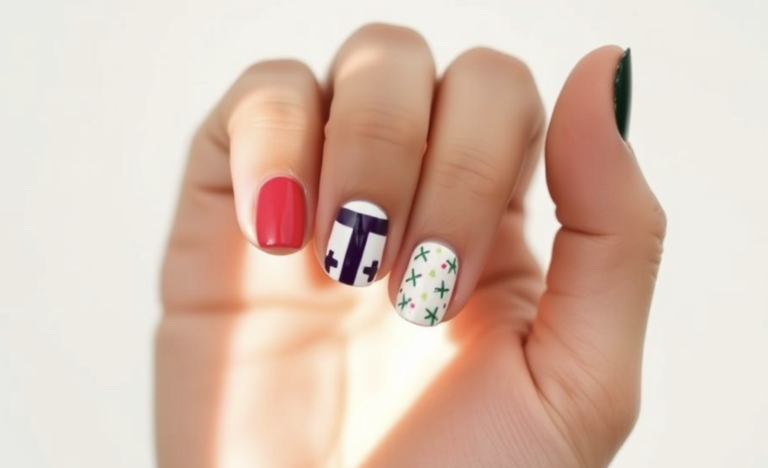
Capture decran 2025 03 23 a 16.19.03 How to Create Salon-Quality Nail Art at Home (Without Special Tools)

How to Create Salon-Quality Nail Art at Home (Without Special Tools)

Who says you need expensive salon visits or professional tools to achieve stunning nail art? With a little creativity and a few everyday household items, you can create salon-quality designs right at home! Whether you’re a beginner or just looking for quick and easy ways to upgrade your manicure, this guide will show you how to master DIY nail art—without fancy tools.

From toothpick nail art to tape stencils and bobby pin designs, we’ll explore simple techniques that deliver flawless results. Plus, I’ll share expert nail care tips and tricks to make your manicure last longer. Ready to give yourself the perfect at-home manicure? Let’s dive in!

Dreaming of stunning, salon-quality nails but don’t want to spend a fortune or invest in professional tools? The good news is—you don’t have to! With a little creativity and some everyday household items, you can achieve gorgeous, professional-looking nail art right at home.

DIY nail art is not only affordable and fun, but it also allows you to experiment with different designs without the hassle of salon appointments. Whether you’re a beginner or a nail art enthusiast, this guide will show you easy techniques using simple items like toothpicks, bobby pins, and tape to create flawless, eye-catching nails.

Ready to turn your home into your personal nail studio? Let’s dive into the best tips, tricks, and designs for salon-quality nail art—without the need for special tools!

Table of Contents

Essential Nail Care Prep for a Salon-Quality Finish

Before diving into nail art, proper nail preparation is the secret to achieving a smooth, long-lasting, and professional-looking manicure. Skipping this step can lead to uneven polish, chipping, or dull designs. Follow these essential prep steps to create the perfect canvas for your at-home nail art!

1. Trim, Shape, and Buff Your Nails for a Smooth Base

Start by trimming and shaping your nails to your desired length and style (oval, square, almond, etc.). Use a fine-grit nail file to smooth out rough edges and prevent breakage. Buffing your nails gently helps remove ridges and gives your polish a flawless application.

2. Use a Base Coat to Protect and Strengthen Nails

A base coat is essential for protecting your nails from staining, strengthening weak nails, and ensuring the polish adheres evenly. Look for a strengthening or ridge-filling base coat if your nails are brittle or uneven.

3. Apply a Top Coat for Longevity and Shine

A high-quality top coat is your best defense against chipping and dullness. It seals in your design, adds shine, and extends the life of your nail art. Reapply a top coat every 2-3 days for extra durability.

4. Keep Nails Hydrated with Cuticle Oil and Hand Cream

Healthy nails start with hydration. Massage cuticle oil around your nails to keep them nourished and prevent peeling. Follow up with a moisturizing hand cream to keep your hands soft and hydrated.

5. Choose the Right Nail Polish for Best Results

Not all nail polishes are created equal! Opt for high-quality, long-lasting formulas to prevent streaking and chipping. Quick-dry polishes are great for fast results, while gel-like formulas provide a salon-quality finish at home.

With these prep steps, your nails will be stronger, smoother, and ready for stunning DIY nail art that lasts! Now, let’s explore creative ways to design beautiful nail art using everyday household items. 💅✨

Easy Nail Art Techniques Using Everyday Items

No professional nail tools? No problem! You can achieve salon-worthy nail art using simple items already lying around your home. With a little creativity, everyday objects like toothpicks, bobby pins, tape, and even a kitchen sponge can help you create stunning designs with ease. Try these simple yet effective DIY nail art techniques!

1. Toothpick Nail Art – Perfect for Dots, Swirls, and Marbling

A toothpick is a versatile tool for creating intricate designs. Here’s how to use it:
Polka dots: Dip the tip of a toothpick in polish and gently dot onto your nails.
Swirls & marbling: Add two or more colors to your nail, then use a toothpick to create swirls for a marble effect.
Fine details: Use the sharp tip to draw delicate lines or patterns.

2. Bobby Pin Designs – Ideal for Polka Dots and Accents

A bobby pin makes perfect, even dots for your nail art. Simply:
✔ Unbend a bobby pin to reveal the rounded tip.
✔ Dip it into polish and press gently onto your nails.
✔ Create fun dotted designs, from classic polka dots to floral patterns.

3. Tape for Nail Art – DIY Stencils for Clean Lines and Geometric Patterns

Household tape is great for crisp, salon-like nail designs:
✔ Cut small strips of tape to create straight lines, zigzags, or geometric shapes.
✔ Apply the tape over dry polish, then paint over it with a contrasting color.
✔ Gently peel off the tape while the top layer is still wet to reveal sharp, clean designs.

4. Ombre Effect with a Sponge – A Gradient Look Using a Kitchen Sponge

A kitchen sponge can give you a gorgeous ombre effect:
✔ Apply two or three colors side by side on a makeup sponge.
✔ Dab it gently onto your nail to blend the colors together.
✔ Repeat in layers until you get the perfect gradient look.

5. Glitter Accents with a Makeup Brush – Adds Sparkle with Precision

Want to add some shimmer and shine? Use a makeup brush for precise glitter application:
✔ Dab a fluffy eyeshadow brush into loose glitter or glitter polish.
✔ Lightly tap or dust the glitter onto wet nail polish for a sparkling effect.
✔ Seal it with a clear top coat to keep the glitter in place.

With these easy DIY nail art hacks, you can achieve gorgeous, creative designs without spending extra on fancy tools. Ready to try your first nail design? Let’s move on to step-by-step beginner-friendly nail art ideas! 💅


Step-by-Step Nail Art Designs for Beginners

Creating salon-quality nail art at home doesn’t have to be complicated. Whether you’re new to nail art or just looking for easy designs, these beginner-friendly tutorials will help you achieve chic, professional-looking nails—without any special tools!

1. French Manicure Hack – Use Tape or a Rubber Band for Clean Tips

A classic French manicure is timeless, and you can easily achieve crisp, even tips using tape or a rubber band:
✔ Apply a base coat and let it dry completely.
✔ Place a piece of tape or a rubber band just below the tip of your nail, leaving the edge exposed.
✔ Paint the tip with white polish and carefully remove the tape before the polish dries.
✔ Finish with a top coat for a smooth, salon-like finish.

2. Minimalist Stripes – Create Chic Designs Using Household Tape

For a modern and stylish striped look, all you need is some tape:
✔ Start with a base color and let it dry.
✔ Cut thin strips of tape and place them on your nails to create horizontal, vertical, or diagonal lines.
✔ Paint over the tape with a contrasting color and carefully remove it while the polish is still wet.
✔ Seal your design with a top coat for a glossy finish.

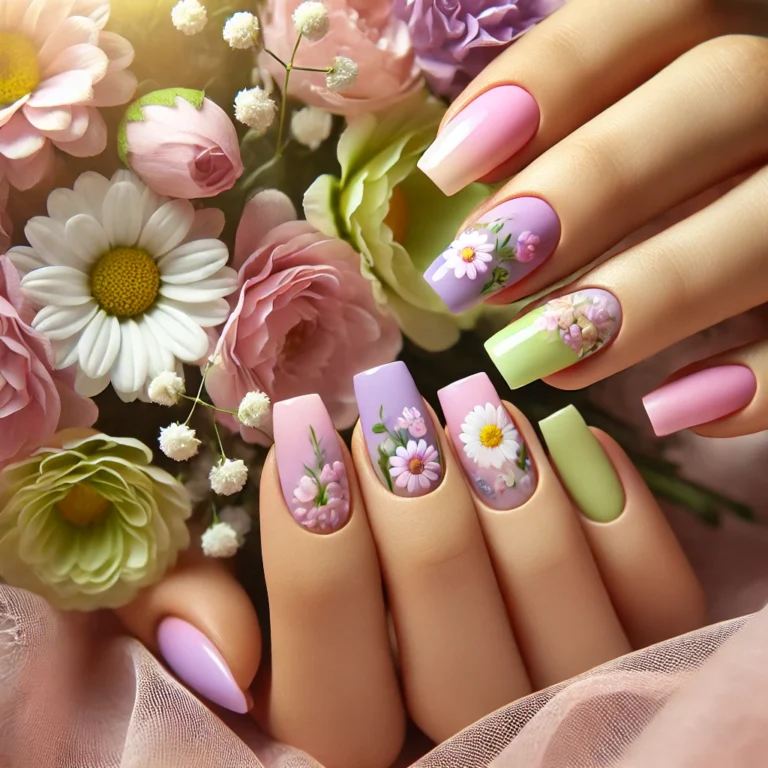
3. Floral Nail Art – Use a Toothpick for Easy Petal Designs

Want to add a delicate floral touch to your nails? A toothpick makes it easy:
✔ Apply a base color and let it dry.
✔ Dip a toothpick into a contrasting polish and create five small dots in a circular shape to form flower petals.
✔ Add a small dot in the center using a different color for a more detailed look.
✔ Finish with a clear top coat to protect your floral design.

4. Marble Effect – Swirl Polish in Water for a Sophisticated Look

The water marble technique creates a beautiful, swirling effect:
✔ Fill a small bowl with room-temperature water.
✔ Drop in 2-3 colors of nail polish, creating rings of color.
✔ Use a toothpick or needle to swirl the colors into a marbled pattern.
✔ Dip your nail into the water, then clean the excess polish around your finger.
✔ Let dry and seal with a top coat.

5. Negative Space Nails – Trendy Designs with Clear Polish Accents

Negative space nails are a trendy, modern look that’s super easy to achieve:
✔ Apply tape or stickers to create geometric or abstract shapes.
✔ Paint your nails with a bold color, keeping some areas clear or nude.
✔ Carefully remove the tape while the polish is still wet.
✔ Apply a top coat to complete the look.

With these beginner-friendly designs, you can experiment with different styles and create stunning nail art at home—without needing any professional tools! 💅✨

Common DIY Nail Art Mistakes and How to Fix Them

Even the most creative DIY nail artists run into challenges. Smudging, uneven polish, or chipped nails can ruin your manicure, but don’t worry—these quick fixes will help you avoid common mistakes and achieve flawless, salon-quality nails at home!

1. Smudging Before Drying – Use Quick-Dry Sprays or Ice Water Dips

Nothing is more frustrating than ruining your nail art before it dries. To speed up drying and prevent smudges:
✔ Apply thin layers of polish instead of thick coats.
✔ Use a quick-dry spray or drops to set the polish faster.
✔ Dip your fingers in a bowl of ice water for 1-2 minutes to harden the polish quickly.
✔ Avoid touching anything for at least 15-20 minutes after painting.

2. Uneven Polish Application – Apply Thin Layers and Let Each Dry

Streaky or lumpy polish can ruin even the best nail art. To get a smooth, even application:
✔ Always start with a clean, dry nail surface (remove any oils or lotion).
✔ Apply thin coats rather than one thick coat—this prevents clumping.
✔ Let each layer dry completely before applying the next.
✔ Use long, even brush strokes for a streak-free finish.

3. Chipped Nails Too Soon? – Seal Edges with a Top Coat

Chipping is one of the biggest complaints with DIY nail art. To make your manicure last longer:
✔ Always apply a high-quality top coat to seal in your design.
✔ Reapply a thin layer of top coat every 2-3 days for extra protection.
✔ Seal the edges of your nails by swiping the brush over the tips—this prevents peeling.
✔ Avoid hot water exposure (like washing dishes) right after painting.

4. Messy Cuticles? – Use a Thin Brush Dipped in Nail Polish Remover

Accidentally painted your skin instead of your nails? No worries! Clean it up easily:
✔ Dip a thin nail art brush or cotton swab into nail polish remover.
✔ Carefully trace around the edges of your nails to remove excess polish.
✔ Use liquid latex or petroleum jelly around the cuticles before painting to prevent mess.

5. Bubbles in Polish? – Avoid Shaking the Bottle; Roll It Instead

Tiny bubbles in your nail polish can ruin the smooth finish of your manicure. To avoid this:
✔ Never shake your nail polish bottle—this creates air bubbles.
✔ Instead, roll the bottle between your palms to mix the polish.
✔ Apply thin coats and avoid blowing on your nails, as this can cause bubbling.
✔ Store your nail polish in a cool, dry place to maintain its consistency.

By avoiding these common mistakes, you’ll be able to create flawless, long-lasting nail art at home—just like the pros! 💅✨

Pro Tips for Long-Lasting DIY Nail Art

You’ve put in the effort to create stunning nail art—now, how do you make it last as long as a professional manicure? Follow these expert tips to keep your nails looking fresh, glossy, and chip-free for days!

1. Always Apply a Top Coat Every 2-3 Days

A top coat isn’t just for shine—it’s your first line of defense against chipping and peeling. To extend the life of your manicure:
✔ Apply a thin layer of top coat right after finishing your nail art.
✔ Reapply a fresh layer every 2-3 days to keep your design sealed and glossy.
✔ Choose a fast-drying, long-lasting top coat for extra durability.

2. Avoid Hot Water for the First Few Hours After Painting

Heat can weaken your polish and make it more prone to chipping. To keep your nails intact:
✔ Wait at least 4-6 hours before exposing your nails to hot water.
✔ If you must wash your hands, use cool or lukewarm water instead.
✔ Take showers before painting your nails to avoid softening the polish too soon.

3. Keep Nails Dry and Wear Gloves When Doing Chores

Frequent exposure to water and harsh chemicals can cause polish to lift and chip. To protect your nails:
✔ Wear rubber gloves when washing dishes, cleaning, or doing household chores.
✔ Avoid soaking your hands for long periods, as water can weaken your nail bed.
✔ Keep your nails dry and moisturized with cuticle oil to prevent breakage.

4. Fix Minor Chips with a Quick Touch-Up Instead of Redoing Everything

A small chip doesn’t mean you have to redo your whole manicure! Quick fixes can prolong your nail art:
✔ Use a fine nail brush or toothpick to touch up small chips with the same polish color.
✔ Blend the area with a thin layer of top coat to smooth out the surface.
✔ For glitter nails, dab a bit of extra glitter over the chip to disguise imperfections.

5. Store Nail Polish in a Cool Place to Prevent Thickening

The way you store your nail polish can affect its consistency and longevity:
✔ Keep your polish in a cool, dark place to prevent it from drying out or thickening.
✔ Avoid storing bottles near heat sources or in direct sunlight.
✔ If polish starts to thicken, add a few drops of nail polish thinner (never acetone) to restore its smooth texture.

By following these pro tips, your DIY nail art will stay chip-free, glossy, and salon-fresh for much longer. Now, it’s time to show off your beautiful nails with confidence! 💅✨

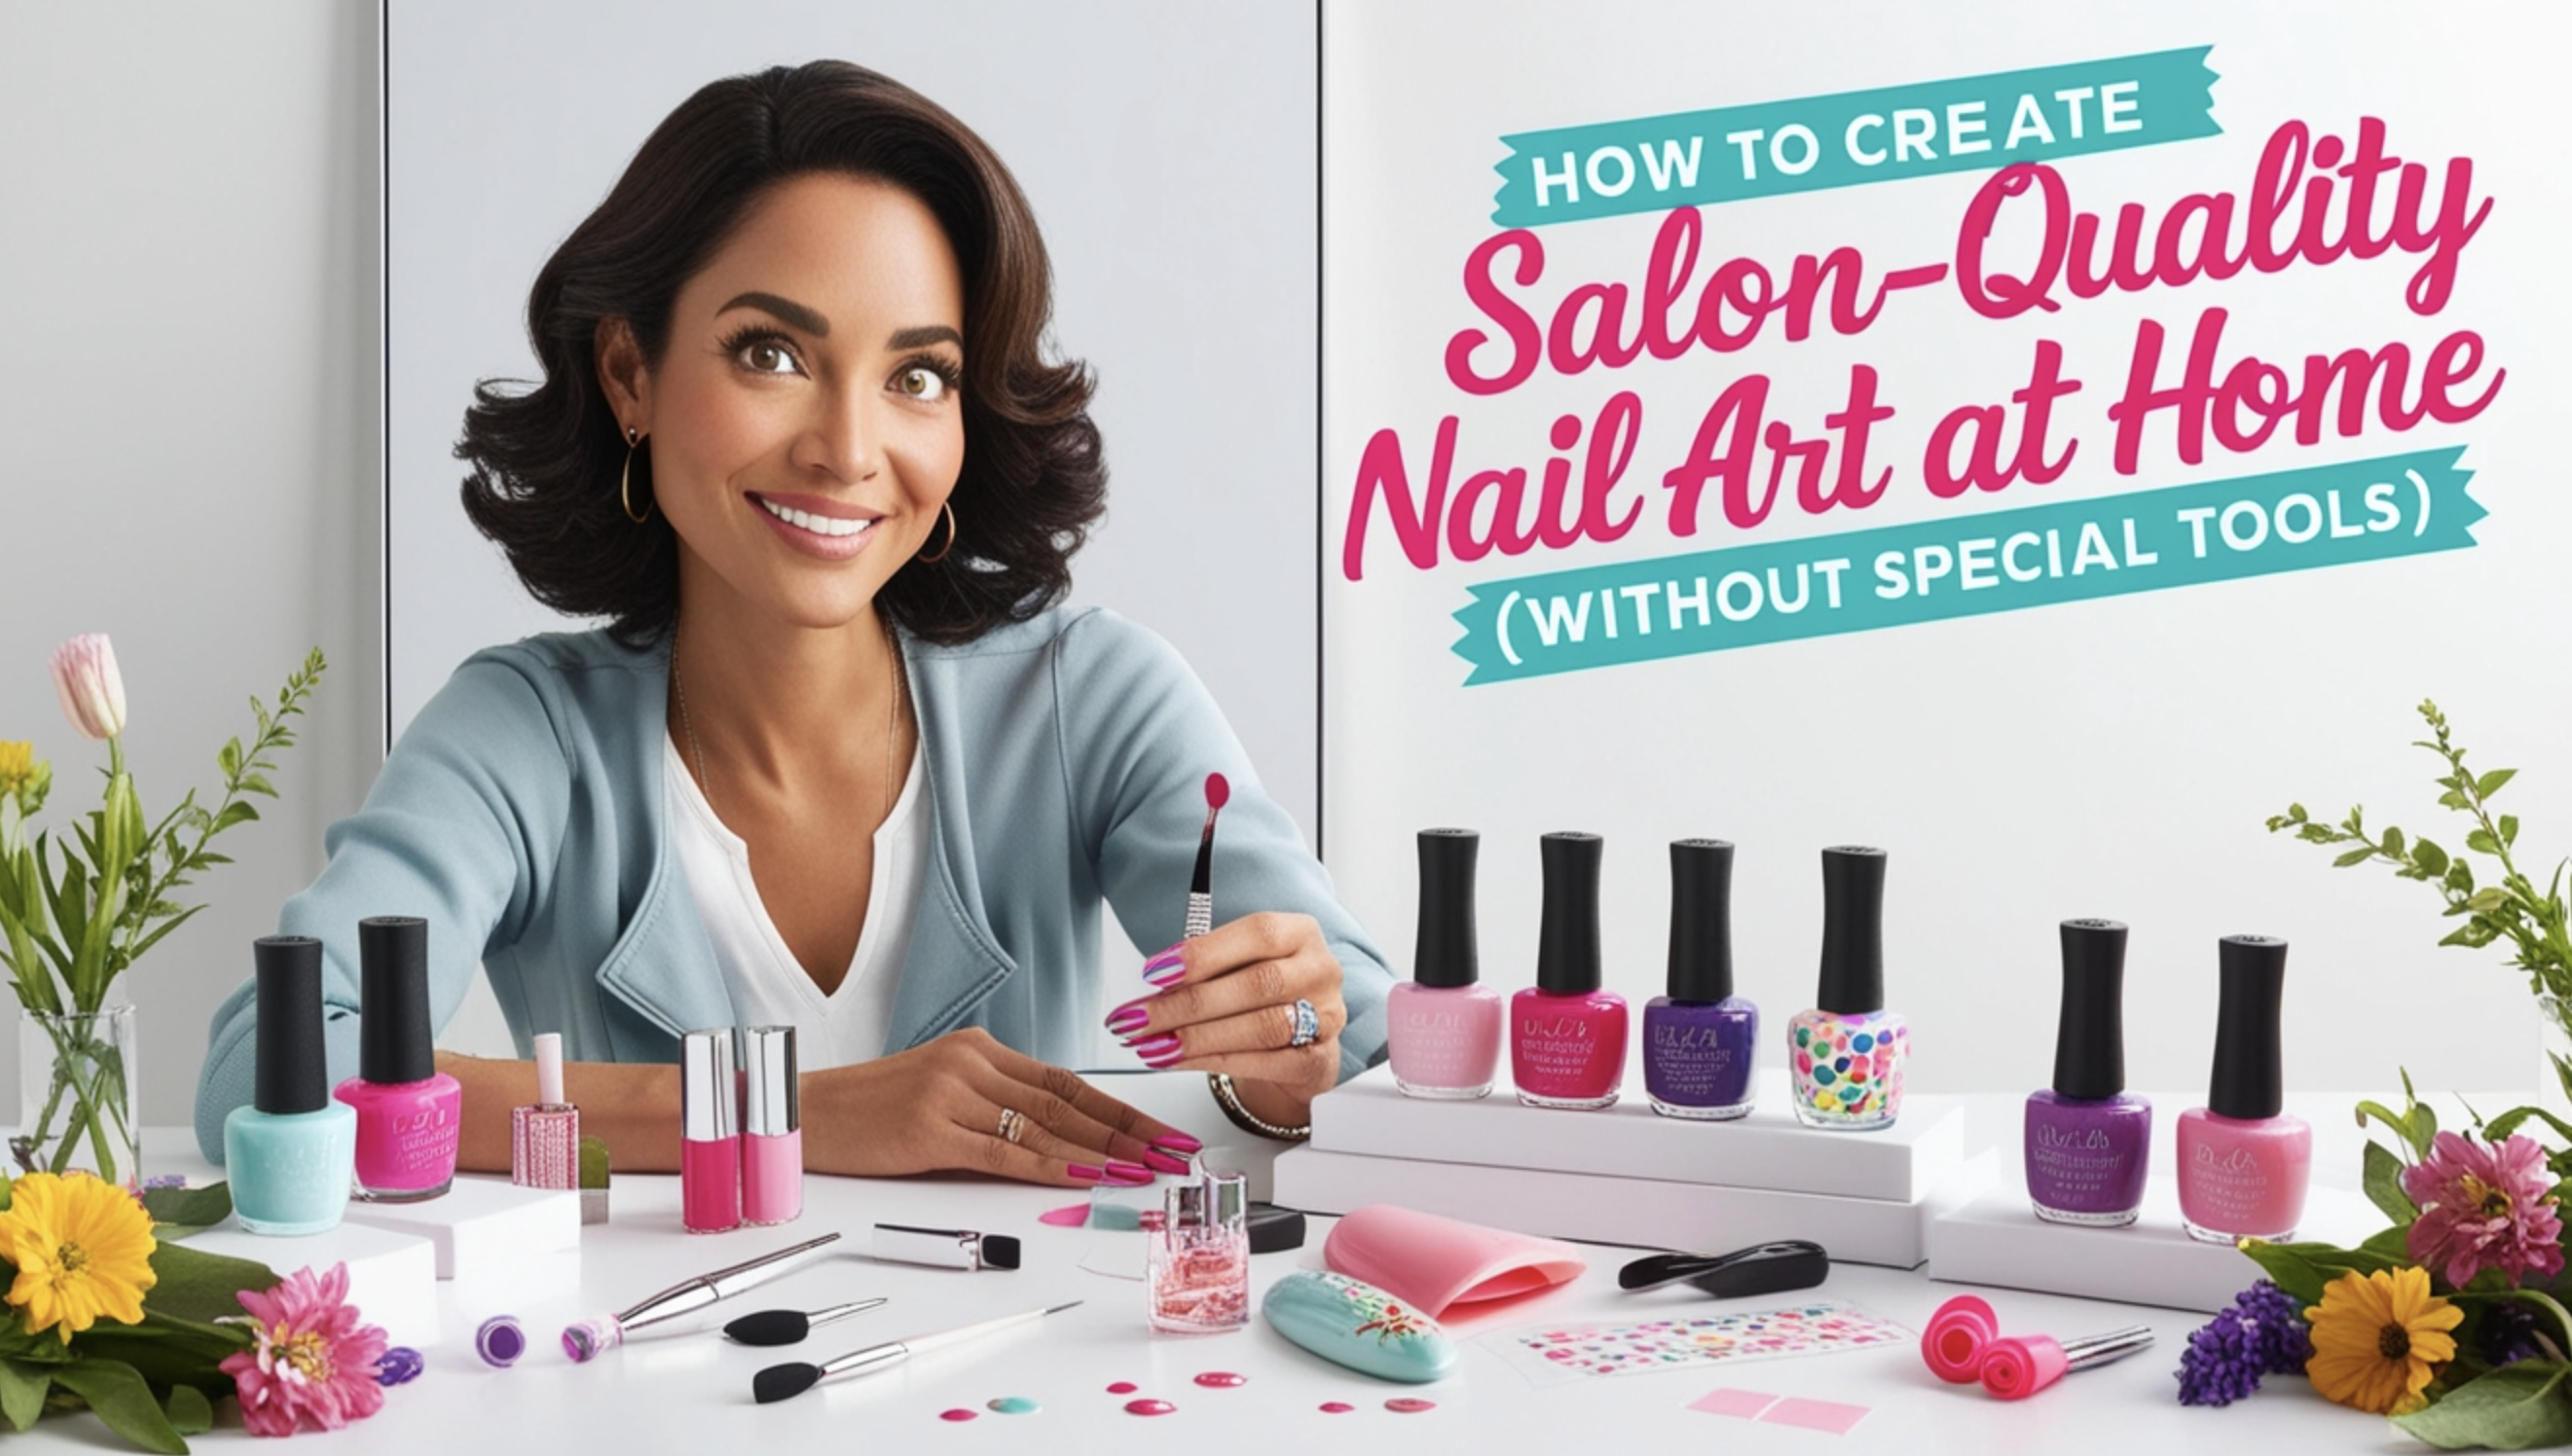
Best Nail Polish Brands for DIY Nail Art

Choosing the right nail polish can make all the difference in achieving a salon-quality manicure at home. The best brands offer long-lasting wear, vibrant colors, smooth application, and durability, ensuring your DIY nail art stays flawless for days. Here are some of the top nail polish brands categorized by their strengths, so you can find the perfect match for your at-home manicures!

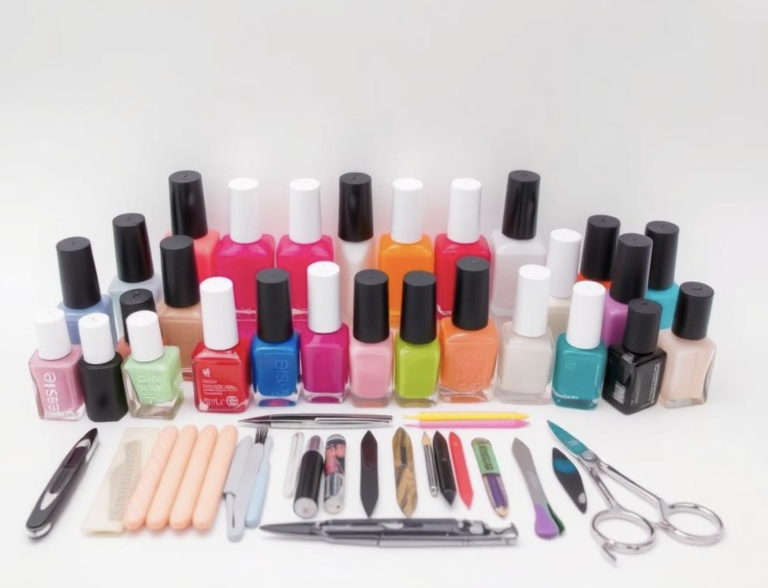
1. Best for Long-Lasting Wear: OPI, Essie

If you want a manicure that lasts over a week without chipping, OPI and Essie are go-to brands for durability and professional-quality formulas.
OPI: Known for its chip-resistant formula and a vast color selection, OPI’s polishes are salon favorites for a reason. Their Infinite Shine line provides a gel-like finish without needing a UV lamp.
Essie: Offers highly pigmented colors with a smooth, streak-free application. Their Gel Couture collection is especially long-lasting, providing up to 12 days of wear.

2. Best for Nail Art: China Glaze, Sally Hansen

For creating intricate DIY nail art designs, you need polishes that are vibrant, highly pigmented, and easy to work with.
China Glaze: Loved for its bold colors and quick-drying formula, China Glaze is perfect for layering nail art without smudging. Their holographic and neon collections are a favorite among nail enthusiasts.
Sally Hansen: A budget-friendly brand with various finishes (creamy, metallic, sheer, and glitter). Their Insta-Dri line is great for fast-drying nail art designs that require multiple layers.

3. Best Quick-Dry Formula: Seche Vite, Revlon

Hate waiting for your nails to dry? These fast-drying formulas ensure a smudge-free manicure in minutes.
Seche Vite: A cult favorite for its ultra-fast drying top coat that leaves a gel-like shine and prevents chipping. Great for sealing in nail art!
Revlon: Their ColorStay Gel Envy line offers a quick-dry, long-wearing formula that mimics a professional gel manicure.

4. Best Budget-Friendly Options: Wet n Wild, Sinful Colors

Affordable doesn’t have to mean low quality! These brands offer amazing colors and finishes at a fraction of the price.
Wet n Wild: Their Fast Dry AF collection dries in under 40 seconds, making it ideal for quick nail art applications. Plus, they have a great range of trendy shades.
Sinful Colors: Known for their super affordable yet high-quality formulas, this brand features unique shades, glitters, and limited-edition collaborations for fun, creative looks.

5. Best Non-Toxic and Vegan Brands: Zoya, Ella + Mila

For those who prefer clean beauty and non-toxic formulas, these brands are 5-free, 7-free, and even 10-free, meaning they don’t contain harmful chemicals like formaldehyde or toluene.
Zoya: A 10-free, long-lasting formula that’s gentle on nails but still provides rich pigmentation and smooth application. Their wide selection of earthy and pastel tones is perfect for natural-looking manicures.
Ella + Mila: A vegan, cruelty-free brand with fast-drying, chip-resistant polishes. Their collections range from soft neutrals to bold, eye-catching hues.

Final Thoughts

Whether you’re looking for long-lasting wear, quick-drying formulas, vibrant nail art colors, or budget-friendly options, these nail polish brands offer high-quality performance for DIY manicures. Investing in the right polishes will make your at-home nail art easier, more durable, and just as stunning as a salon manicure! 💅

Similar Posts

One Comment

Leave a Reply

Your email address will not be published. Required fields are marked *