Stunning Nail Art Ideas to Try This Year
Painting my nails is more than a manicure; it’s a way to share a story. I’ve used my nails to express my mood, style, and even daydreams. This year, I’m excited to share nail art ideas that boost my confidence and creativity.
Whether you’re new to nail art or a pro, these ideas and tips are for you. They’ll help you create nail designs that you’ll love to show off.
Key Takeaways
- Explore trending nail art ideas tailored to every skill level.
- Learn practical tips for creating long-lasting, salon-quality designs at home.
- Discover how simple tools and techniques can transform ordinary nails into standout styles.
- Find inspiration for seasonal themes, minimalist looks, and bold statement designs.
- Get step-by-step guidance to make professional-quality nail art without salon costs.
My Journey into the World of Creative Nail Designs
My adventure with creative nail designs started years ago. I tried a DIY manicure for a friend’s wedding. It was a nervous start but soon became my passion.
I spent many nights watching tutorials by artists like Brittany Fink. I also tried out tools from Essie and OPI. Every mistake taught me something, and every success made me want to learn more.
How I Became Passionate About Nail Art
My first big success was mastering a gradient French tip. Seeing how color gradients could change a simple manicure really caught my attention. I followed artists online, practiced stenciling, and even took workshops.
Techniques like abstract splatter art and 3D embellishments became my favorites. The ability to mix colors and textures made each design feel special.
Why I’m Sharing These Ideas with You
I want to make creative nail designs accessible to everyone. I’ve shared every technique I struggled with, like uneven striping or chipping. My aim is to help you avoid the mistakes I made.
I hope these tips will boost your confidence, not confuse you.
What Makes a Nail Design Truly Stand Out
Great designs have three key elements:
- color harmony that flatters skin tones
- technique precision for clean lines
- longevity that resists chipping
Brittney Fink once said,
“A standout design tells a story without words.”
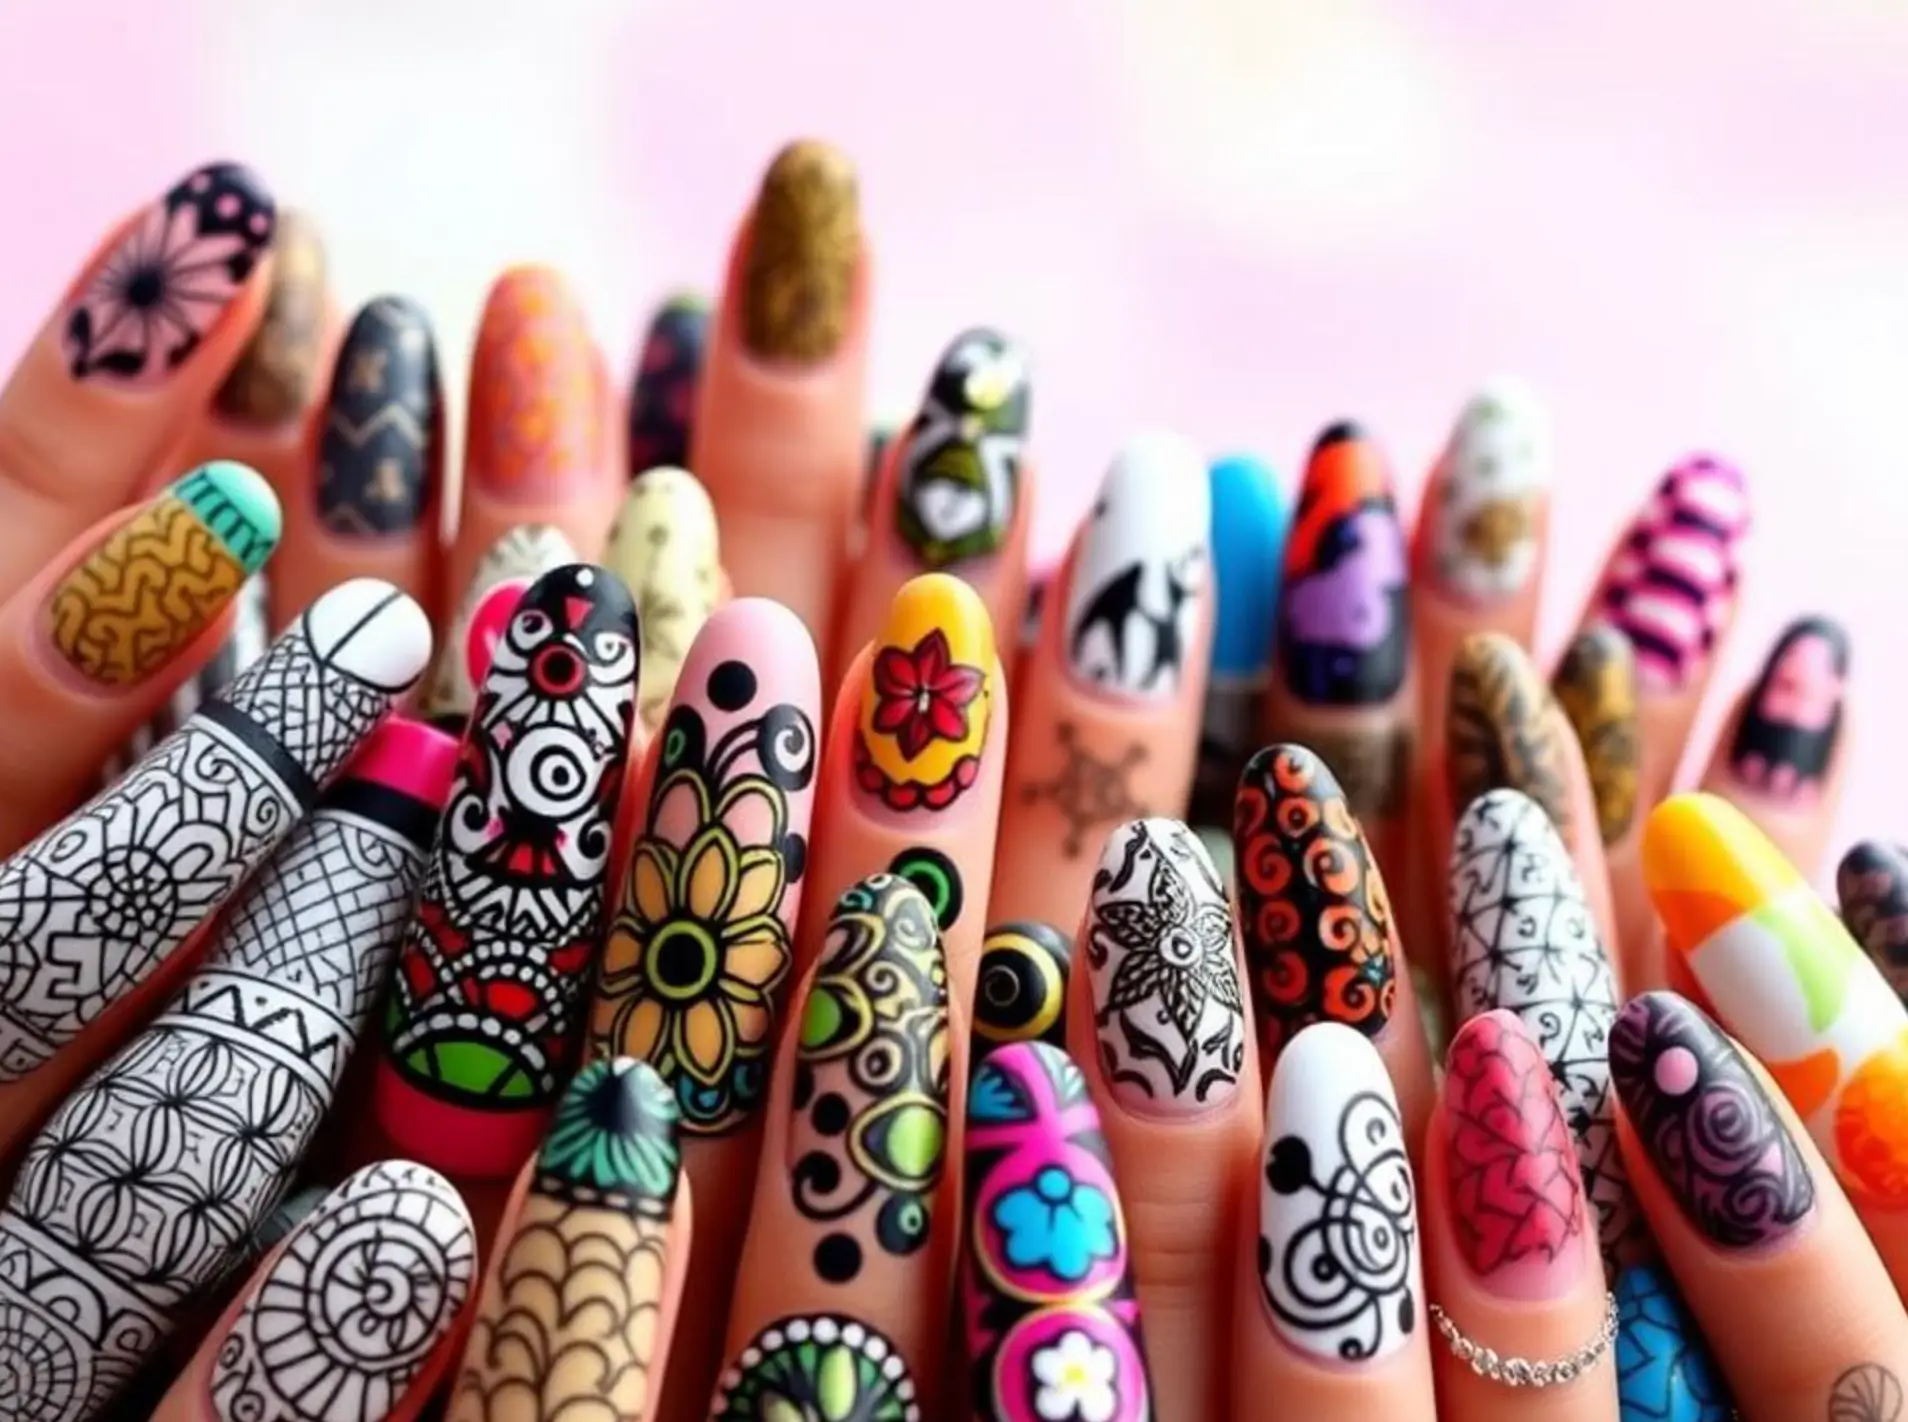
Whether it’s a simple geometric pattern or a bold floral design, the best designs show your personality. They consider hand shape and nail bed size. These details make trends last forever.
Essential Tools and Supplies for DIY Nail Art
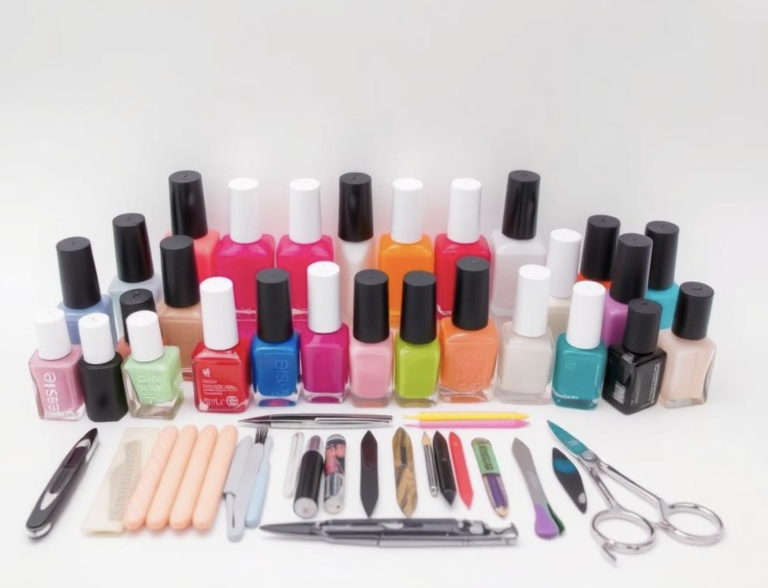
Getting good at diy nail art begins with the right tools. You need quality base and top coats as a base. Detail brushes and dotting tools help bring your ideas to life. Here’s what every artist at home should have.
- Polishes: Start with chip-resistant formulas like Zoya or Essie for vibrant colors.
- Brushes: Precision brushes (under $10) and dotting tools let you create intricate patterns.
- Stencils: Use striping tape or nail stamps (Konad is a pro favorite) for clean lines and motifs.
- Clean-up: Cotton rounds and acetone ensure mistakes vanish without damaging nails.
| Tool | Budget Option | Professional Grade |
|---|---|---|
| Detail Brushes | Wet n Wild 10-piece set ($6) | Sally Hansen Pro Series ($20) |
| Dotting Tools | Makeup sponge applicators ($3) | Stainless steel picks ($12) |
Storage is key! Keep brushes upright in a jar and store polishes upright to prevent drying. My starter kit includes a $15 OPI 5-piece set. A good base coat like Seche Vite can make your nails last 48 hours longer. Don’t clutter your toolkit—start small and add more as you get better.
Preparing Your Nails for the Perfect Canvas
Before starting with nail art ideas, make sure your nails are ready. A good base is key for lasting designs and a polished look. Skipping this step can cause chipped polish or uneven results. Here’s how to prepare your nails for creativity.
Proper Nail Care Techniques
Begin by shaping your nails with a fine emery board in one direction. This prevents ridges. Next, moisturize your cuticles with oil and gently push them back with an orange stick. Finally, buff your nails lightly with a buffer block. This improves polish adhesion without making your nails thin.
- Filing: Use 180-grit boards for shaping
- Cuticle care: Apply oil daily for softness
- Buffing: Focus on the center of the nail plate
Base Coat Application Tips
Choose a base coat that suits your needs. Whether it’s for textured nails or strengthening weak ones. Apply one thin layer with care, focusing on the nail bed. Let it dry fully before proceeding. I prefer a two-step system: a strengthening primer followed by a gel-like base for durability.
Creating a Smooth Foundation
To apply polish evenly, test the color on the tip first. Use the “wet paint” technique: apply polish in three thin coats, waiting 60 seconds between each. This method reduces bubbles and ensures your design is clear. Always check for streaks under natural light before adding designs.
Beginner-Friendly Nail Art Ideas for First-Timers
Learning easy nail art tutorials is not scary. These three simple techniques help you create bold designs with little experience. Begin with small steps, practice on paper, and don’t worry about mistakes. They’re all part of the fun.
Simple Dot Designs
Turn simple dots into stunning art with everyday tools. Use a toothpick or bobby pin to create polka dots, petals, or shapes. Mix different sizes and colors for depth. If dots get messy, clean them up with acetone and a gentle wipe.
Basic Striping Techniques
Get the hang of straight lines with striping tape or by freehanding. For tape, apply, paint, then peel for sharp lines. Freehand? Drag a thin brush along your nails. Practice on paper to improve your skills.
Two-Tone Gradient Effects
Make a gradient by mixing two colors with a makeup sponge. Dip one sponge edge in one color, the other in the second. Press softly along your nails for a smooth blend. Avoid over-sponging to keep the look clear.
| Technique | Materials | Pro Tip |
|---|---|---|
| Dot Designs | Toothpick, polish | Overlap dots intentionally for a textured finish. |
| Striping | Striping tape, fine brushes | Hold your hand over a paper plate to avoid drips. |
| Gradients | Makeup sponge | Wipe sponge between dips to prevent color mixing. |
These easy nail art tutorials help you grow in confidence. Start with one method, then try mixing them for something new. Soon, your nails will be a canvas of creativity!
Trendy Nail Art Designs Taking Over Social Media
When you scroll through Instagram or TikTok, you see the same trendy nail art styles everywhere. These aren’t just fleeting trends. They’re changing how we show our style with our nails. Let’s explore the viral trends that are taking over our feeds.
In 2024, abstract patterns with splatter effects and bold colors are all the rage. Think of mismatched neon or pastel colors with glitter drips. These designs look amazing under camera flashes, perfect for influencer posts. Velvet finishes and chrome metallic shades are also trending, adding depth in photos.
- Y2K Revival: Glitter gradients and holographic tips bring back early-2000s vibes. Essie and OPI offer palettes that are perfect for this retro look.
- Modern French Tips: Adding micro-dots or geometric edges to classic French manicures keeps them fresh. Try OPI’s “End Zone” polish for crisp lines.
- Texture Play: Matte and glossy hybrid nails create contrast. Use Sally Hansen’s gel-like topcoats to enhance texture contrasts.
Short nails? Don’t worry, abstract dots or tiny patterns work best. Long nails? Try layered gradients. Not all trends last, but abstract art’s versatility keeps it in style. Pair trending colors like millennial pink or electric blue with these techniques to make your manicure stand out.
Adapting these trendy nail art ideas to your style is crucial. Mix textures, colors, and techniques to avoid looking like everyone else. The goal? A design that’s both trendy and uniquely yours.
Seasonal Nail Polish Art to Match Every Occasion
Make your nails into wearable art that changes with the seasons. My nail polish art ideas celebrate each season’s vibe. They are easy for everyone to try. Refresh your nails every three months.
| Season | Theme | Colors | Key Techniques |
|---|---|---|---|
| Spring | Floral | Pastels, whites, greens | Dotting tools, freehand petals |
| Summer | Tropical | Yellows, blues, brights | Gradient blending, stamping |
| Fall | Earthy | Oranges, browns, golds | Dry brushing, marbling |
| Winter | Festive | Reds, silvers, whites | Glitter application, stamping |
Spring Floral Inspirations
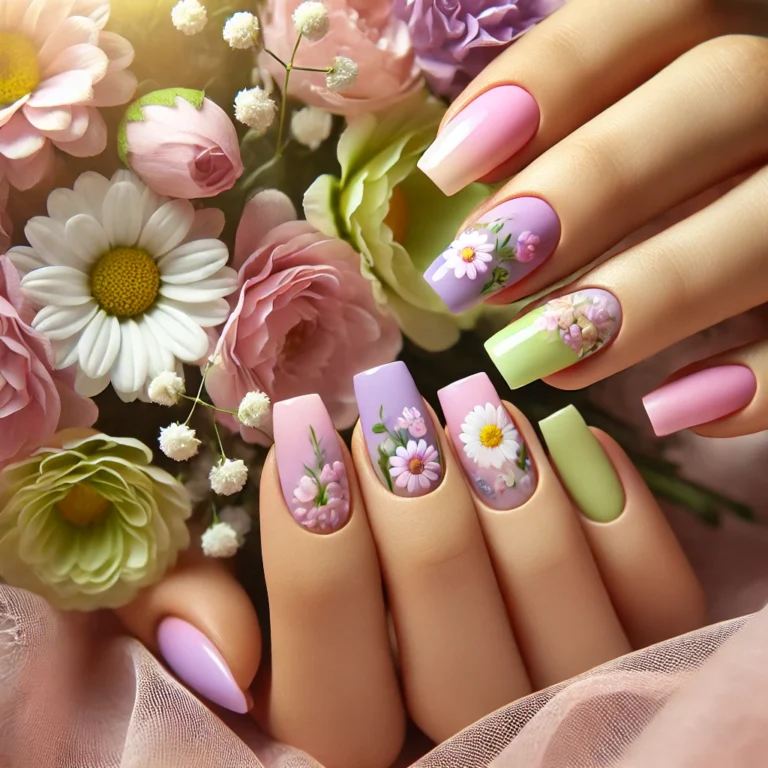
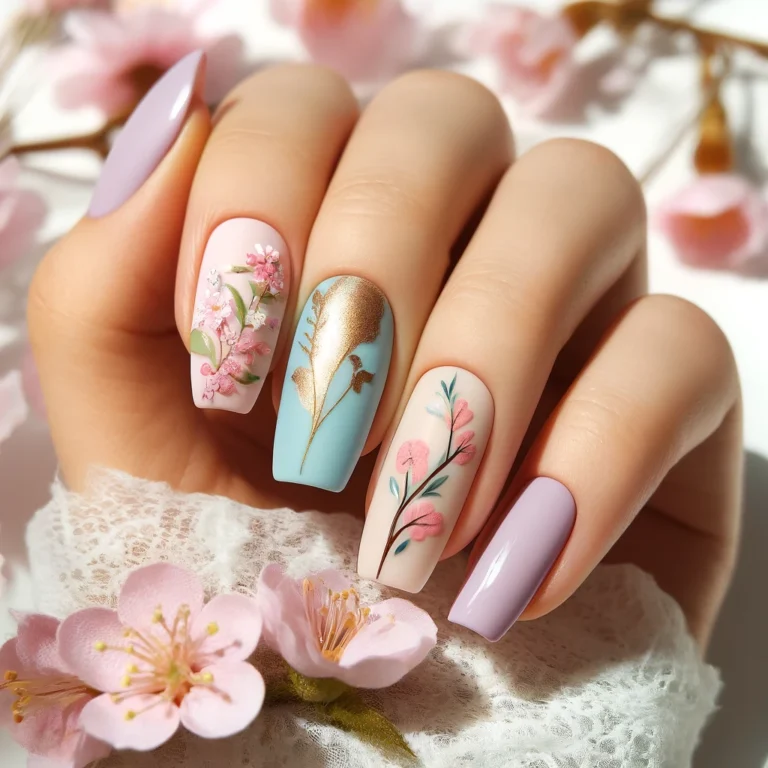
Spring calls for delicate flowers. Use light pink Essie’s “Just Like Heaven” with green accents. Dotting tools or freehand petals create a fresh look.
Summer Beach and Tropical Themes
Summer’s heat calls for bold hues. Mix OPI’s “SpongeBob SquarePants” yellow with ocean blues. Gradient fades and tropical leaves add to the look.
Fall Cozy and Earthy Patterns
Fall’s palette is warm. Dry brush OPI’s “Cinnamon Roll” with gold leaf accents. Marbling with Essie’s “Autumn in New York” creates textured effects.
Winter Holiday and Festive Creations
Winter’s magic is in metallics. Layer OPI’s “Fairytale Ending” with white glitter. Holo finishes or minimalist snowflakes add elegance.
Minimalist Nail Art for Understated Elegance
Minimalist nail art shows that less can be more. It uses negative space, delicate lines, and one color to make a big impact. Let’s explore how to turn simplicity into art.
“Minimalism isn’t about emptiness—it’s about intentional emptiness.” — Sarah Lin, award-winning nail artist
Start with negative space techniques. Unpolished areas can form shapes or patterns. Try a clear top coat over a base color to make areas look longer.
Thin line art needs a steady hand and fine brushes. Practice drawing small shapes or lines. This adds elegance without being too much.
Monochromatic color schemes focus on texture and finish. Use one color and different finishes to add depth. For example, a soft pink base with glossy tips is stunning.
Getting good at minimalism takes time. Each stroke must be precise. Practice to avoid mistakes and create designs that are simple yet powerful.
Bold and Unique Nail Art for Making a Statement
Want to make your nails a canvas of creativity? Unique nail art is the perfect way to express yourself. I’ve tried out designs that are bold and different, mixing textures and ideas that grab attention.
- Pair matte finishes like OPI’s “Matte Monroe” with glossy accents for dramatic contrast.
- Challenge norms with color combos such as Essie’s “Marilyn Mania” paired with metallics for eye-catching clashes.
- Layer mixed media: sprinkle NailFX mylar flakes, embed dried botanicals, or secure resin-coated gems using strong adhesives.
Narrative-based designs let each nail tell part of a story. Imagine a set where every digit represents a season, a journey, or a personal symbol. The key is cohesion—each element should connect visually without overcrowding.
- Start with 1-2 bold nails instead of full sets to ease into avant-garde styles.
- Test textures first—apply mylar flakes on a single nail before committing to full designs.
- Use clear topcoats to protect layered elements while maintaining vibrancy.
These unique nail art ideas aren’t just trends—they’re conversations. Let every stroke, texture, and material reflect your personality. Whether it’s a geometric pattern inspired by abstract art or a micro-painted scene, the goal is to stand out without sacrificing durability. Experiment, but always prime nails first to ensure longevity.
Themed Nail Designs for Special Events
Special occasions call for nail art that shines as brightly as the event. Whether it’s a wedding or a milestone birthday, custom designs make your look unforgettable. Let’s dive into how to make lasting impressions with event-inspired nails.
Wedding and Formal Events
For weddings, choose elegance with a touch of simplicity. A soft gradient with gold leaf accents using OPI’s “Diamond in the Rough” polish is perfect. Lace patterns or delicate floral etchings with a fine brush are also great.
For a “something blue” touch, use OPI’s “Celebrate Me”. Finish with a durable top coat to keep your nails looking great in photos.
Birthday and Celebration Nails
Birthday nails should be full of joy and sparkle. Mix confetti with metallic foil using Essie’s “Fiesta” polish. Write the celebrant’s age in glitter or add a tiny cake icon.
For lasting beauty, layer a base coat like Seche Vite. This prevents chipping during cake cutting or dancing.
Holiday-Specific Designs
Holiday nail art should capture the season’s spirit. For Valentine’s Day, hearts in glossy OPI “In the Navy” polish are lovely. Halloween calls for spiderwebs in black and white, or Thanksgiving gradients with OPI’s autumn colors.
Essie’s holiday collections offer perfect colors for any festive theme.
| Event | Design Example | Product Pick |
|---|---|---|
| Weddings | Lace patterns + gold foil | OPI “Diamond in the Rough” |
| Birthday | Confetti and metallic accents | Essie “Fiesta” |
| Holidays | Seasonal gradients | Essie Holiday 2023 Collection |
Easy Nail Art Tutorials Anyone Can Master
Whether you’re new to nail art or want to make it simpler, these easy nail art tutorials are for you. They focus on simple methods that are easy to follow. My goal is to make complex techniques easy to do with items you probably have at home.
Step-by-Step Marbling Effect
Marbling is easy without a water tray. Here’s how to do it with common tools:
- Paint nails with a base color and let dry completely.
- Use a toothpick to drag a contrasting polish across the surface in random lines.
- Blur lines gently with a clean sponge or balled-up tissue.
“Less is more—overworking the design can ruin the effect.”
Troubleshooting: To avoid streaks, use quick, light strokes. If colors bleed, apply a thin top coat to set layers before adding new colors.
Foolproof French Tip Variations
Try these modern twists on the classic French tip:
- Reverse French: Paint half the nail white, leaving the cuticle area bare.
- Angled Tips: Create diagonal white lines at a 45-degree angle instead of straight edges.
- Ombré Tips: Gradually blend white polish from the tip toward the nail bed using a dotting tool.
No-Tool Required Designs
These techniques use items from your kitchen or purse:
- Spatter effects: Dip a straw into polish, tap it lightly over a dried base coat.
- Gradient washes: Sponge-blot two colors onto nails using a makeup sponge’s foam side.
- Stripe-free chevrons: Use the brush tip to drag polish diagonally in overlapping strokes.
Each method takes under 15 minutes and doesn’t need special tools like striping brushes. Try different color ratios or drying times to change patterns.
Cute Nail Ideas for Short Nails
Short nails don’t mean you have to skip creativity. I’ve found that cute nail ideas thrive on smaller surfaces when scaled properly. Tiny floral clusters or micro geometric patterns add charm without overwhelming. Let’s break down how to maximize your manicure:
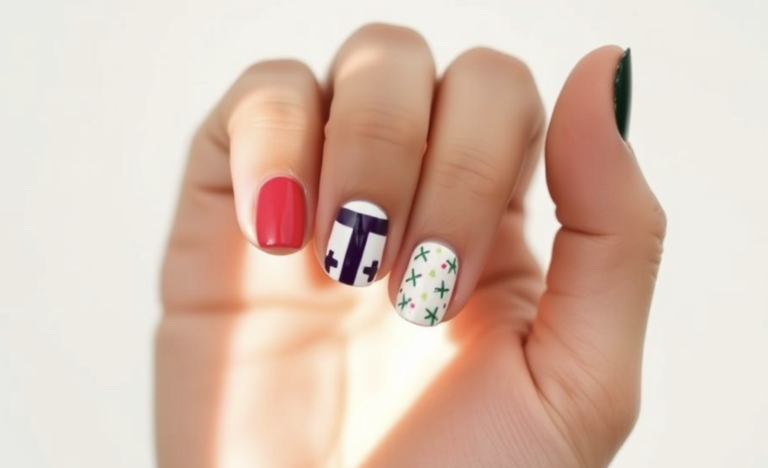
- Miniature art: Use fine-tipped brushes to paint tiny stars or polka dots. A single rose petal or a tiny bow makes a big impact.
- Vertical stripes: Thin vertical lines in contrasting colors create optical illusions that subtly lengthen nails. Try two-toned stripes for boldness.
- Full-coverage gradients: Smooth ombre effects from tip to cuticle work perfectly on short nails, avoiding clutter.
“Short nails are the perfect canvas for intricate details,” says nail artist Lila Chen. “Every millimeter counts.”
Quick-dry topcoats like Seche Vite help prevent smudges, crucial for everyday wear. Opt for designs like tiny cartoon characters or delicate lace patterns—details stay sharp as nails grow out. Pairing light polish shades with subtle glitter adds shine without heaviness.
Don’t shy away from bold colors either. A solid pastel base with a single accent dot at the center turns simplicity into sophistication. These cute nail ideas prove short nails offer unique opportunities for precision and playfulness.
Advanced Techniques for Nail Art Enthusiasts
Ready to take your DIY nail art to the next level? These techniques require patience but offer stunning results. From creating 3D accents to mixing styles, mastering these steps can make your designs stand out.
3D Element Application
To add depth, start by sculpting. Mix acrylic powder with liquid monomer to shape your designs. Then, use E-6000 to stick them in place and top with a sealant. Tips:
- Let each layer dry completely to prevent warping.
- Use tweezers for precise placement.
Detailed Hand Painting Methods
Turn nails into tiny artworks with fine brushes. Practice blending colors and outlining with .001 strikers. For a realistic look, layer translucent gels. Knowing color theory helps pick the right colors.
Combining Multiple Techniques
Mix 3D elements with hand-painted backgrounds for stunning results. Here’s how:
- Start with a base layer of gradients or solid colors.
- Add sculpted pieces once the base is dry.
- Paint details over or around the elements.
- Finish with a thick top coat for protection.
Face challenges like lifting? Use thin, fast-dry topcoats between steps. Always test new materials on scrap acrylic first. With practice, even complex DIY nail art becomes easy.
How to Make Your Nail Art Last Longer
As someone who loves trendy nail art, I know how frustrating it is to see designs chip or peel too soon. Here’s how to keep your creations vibrant longer:
- Prep properly: Dehydrate nails with rubbing alcohol, balance pH with a primer like Essie’s Bonding Base Coat, and use a top coat primer for smoother application.
- Apply with precision
- Paint in thin layers—thicker coats crack easier.
- Wrap polish over the free edge to seal cuticles.
- Protect daily: Reapply a fast-dry top coat every 3 days and moisturize hands with oil-free products.
| Optimal Approach | Everyday Compromise |
|---|---|
| UV lamp curing (10 mins) | LED light for 2 minutes |
| Wait 24 hours before washing | Use disposable gloves for dishes |
| Weekly top coat reapplication | Touch-up edges every 2 days |
Wear gloves when cleaning or gardening. Avoid acetone-based removers—they strip polish. For typing, angle wrists to reduce nail tip friction. These steps keep trendy nail art looking fresh 30–40% longer than standard care.
Conclusion: Expressing Yourself Through Nail Art
Seeing your nails as a canvas is the first step in expressing yourself through nail art. Every unique nail art idea or creative nail designs you try shows off your personality. Whether it’s painting florals or trying out gradients, these designs let you share your style without words.
I’ve seen how simple tools like dotting tools or striping brushes unlock creativity. Even small details, like a single accent nail, can spark conversations. Your choices in colors, patterns, and textures tell a story only you can perfect. This art form isn’t just about trends; it’s about making every design your own.
Confidence grows with each attempt. The process itself is rewarding: the calm of applying polish, the joy of mastering a new technique. Online communities celebrate these efforts, turning your nails into a shared language of creativity. And when you slip up? It’s just a chance to learn and try again.
Future innovations like long-wear polishes or digital design templates will keep pushing boundaries, but the core stays the same—your imagination is the limit. So embrace mistakes, mix unexpected colors, or blend trends into your signature look. Every creative nail design you create is a step toward owning your unique aesthetic. Your nails are a blank slate, ready to evolve with every new idea. Start small, build boldly, and let your hands do the talking.
FAQ
What are some easy nail art ideas for beginners?
Beginners can try simple dot designs, basic striping, and two-tone gradients. These ideas need just a few tools and some practice to get right!
How can I create unique nail art at home?
To make unique nail art at home, try sponging for gradients or dotting tools for details. You can also mix different polish finishes. DIY nail art lets your creativity shine!
Where can I find trendy nail art ideas?
Look for trendy nail art on Instagram and TikTok. Nail art blogs and tutorials also offer step-by-step guides to trendy looks.
What tools do I need for DIY nail art?
You’ll need a good base coat and top coat, various nail polishes, detail brushes, a dotting tool, and striping tape. Sponges are great for gradients. These tools will help you create amazing nail designs!
Can I achieve cute nail ideas on short nails?
Yes, you can! Short nails can be stylish too. Try micro-patterns, full-coverage designs, or delicate character art. These ideas are perfect for short nails and let your creativity flow.
What is the best way to extend the life of my nail art?
To keep your nail art looking great, prepare your nails well before applying polish. Use thin layers and seal the edges. Reapply top coat often. Avoid harsh chemicals and protect your nails to keep your designs looking fresh.

2 Comments