The Ultimate Guide to Nail Design: From Concept to Execution
Transforming a blank nail into a canvas of color and creativity is magical. I felt like unlocking a new language when I first painted a gradient design on my nails. Nail design is more than just polish; it’s about telling stories through art.
This guide invites you to experience that joy and confidence. Whether you’re creating bold gradients or simple accents, we’ll cover every step. From choosing brushes to fixing smudges, I’ll share my hard-earned lessons. Let’s make your ideas into stunning, lasting creative nail designs.
Key Takeaways
- Master foundational techniques for professional-quality nail design.
- Discover how to pair color theory with creative nail designs.
- Learn tricks to protect and extend the life of your nail art.
- Explore solutions for common issues like uneven polish application.
- Find inspiration to craft designs that reflect your personal style.
My Journey into the World of Nail Design
Years ago, I found a YouTube tutorial on nail art and felt a spark. It started as weekend fun and grew into a passion. I learned patience and creativity through trial and error.
Today, I want to share this journey. I hope it inspires others to find joy in nail art.
How I Fell in Love with Nail Art
My first success was a simple marble design. Friends loved it, and it sparked my passion for nail design. I learned that small changes, like using toothpicks, can make a big difference.
Here’s what shaped my journey:
- Experimenting with acrylics and gel polishes
- Learning from mistakes (yes, even chipped nails taught me durability tricks!)
- Joining online communities to swap tips
Why I Created This Ultimate Guide
“Every mistake taught me more than a perfect attempt.”
Seeing beginners struggle with basics like freehand painting or color selection inspired me. I wanted to make nail art easy for anyone to start. This guide is more than a how-to—it’s a path to confidence.
What You’ll Learn About Creating Beautiful Nail Designs
| Topic | Key Takeaways |
|---|---|
| Fundamentals | Brush selection, drying times, and color mixing |
| Techniques | Stenciling, gradient blending, and 3D embellishments |
| Tools | Must-have items like dotting tools and LED lamps |
By the end of this guide, you’ll see nail design as an art form. It’s a way to show your personality.
Essential Tools and Supplies for Stunning Nail Designs
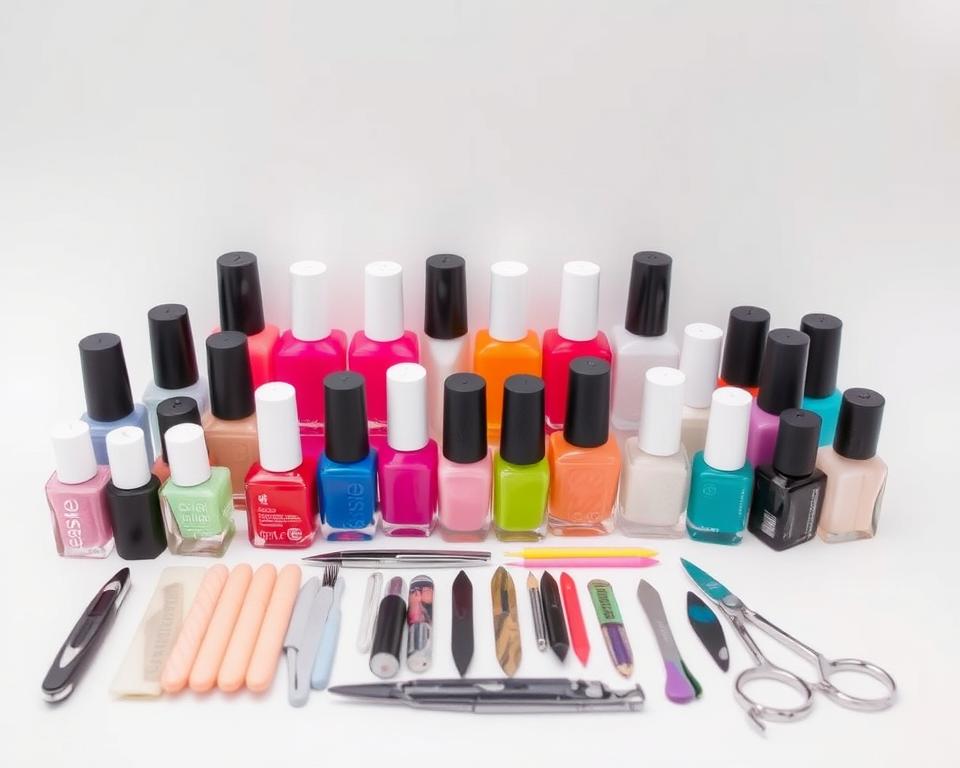
Starting your nail design journey? Let’s break down the tools you need to turn nail art dreams into reality. As someone who’s built dozens of kits, I’ve learned what truly matters. Here’s your guide to the basics and beyond.
- Basics: Start with a nail file (I prefer 100/180 grit for shaping), buffer block, cuticle pusher, and orange stick for precise cleaning.
- Polishes & Brushes: Invest in a nail design brush set—try flat brushes for base coats and thin liners for details. My go-to? Sally Hansen’s Detail Brush.
- Nail Art Tools: Dotting tools (Sobo’s set is a classic), stamping plates (Konad’s designs are timeless), and glitter tweezers for precision.
| Must-Have Tools | Nice-to-Have Tools |
|---|---|
| Nail file + buffer | Chrome powder kit |
| Base/top coats | LED lamp for gel-like effects |
| Dotting tool | 3D nail gems |
“Quality brushes make or break your nail design ideas—prioritize them over cheap alternatives.”
Build your kit strategically. Start with the basics, then add specialty items like holographic foils or magnetic polishes as you grow. Brands like Essie and Orly offer budget-friendly starter kits. Remember—creativity thrives with the right tools. Let’s get crafting!
Understanding Nail Anatomy and Health
Healthy nails are key for any nail design or nail art. Knowing your nails’ parts helps your designs last. Let’s look at how each part works and how to keep them healthy.
The Structure of Your Nails
- Nail plate: This is where polish goes. Weak here? Use base coats to strengthen.
- Matrix: Under the cuticle, it makes new cells. Keep it healthy to avoid ridges.
- Nail bed: The skin under the plate. Discoloration here means there’s an issue.
- Cuticle: It protects the matrix. Gently push it back to prevent infections.
Common Nail Issues and How to Address Them
- Brittleness: Use protein strengtheners. My favorite is Nailtiques’ Hard As Nails.
- Peeling edges: Soak in olive oil weekly. It makes split ends disappear.
- Ridges: Buff gently with a 180-grit buffer. Don’t over-sand to avoid texture issues.
- Discoloration: Yellow nails might mean a B12 deficiency. I keep track of my B12 to prevent this.
Preparing Your Canvas: Nail Health Basics
My routine includes weekly lemon-glycerin soaks. Hydrated nails hold polish better. Stay away from acetone removers, as they dry out nails. For weak nails, apply a strengthening base coat twice a week.
“Healthy nails are 30% product, 70% routine.”
Eat biotin-rich foods like almonds. My clients noticed improvements. Taking care of your nails turns weak ones into perfect canvases for nail art.
Nail Preparation: The Foundation of Perfect Nail Design
Preparing your nails is more than just a first step. It’s the key to a lasting nail polish design. I’ve learned that skipping this step can lead to chipped polish and uneven color. Follow my methods to create a strong base for any nail design.
Proper Filing and Shaping Techniques
Begin by shaping nails with a 100/180 grit buffer. Always file in one direction to prevent splitting. Here’s how to shape popular styles:
| Shape | Technique | Best For |
|---|---|---|
| Square | Straight lines across the tip | Straight lines across the tip |
| Almond | Round the tip into a cat-eye shape | Long nails |
| Round | File into a smooth curve | Brittle nails |
Cuticle Care for Flawless Results
- Soften cuticles with a lemon oil soak for 2 minutes
- Push back cuticles gently with an orange stick—never cut!
- Use a cuticle remover balm like Jane Iredale’s mineral formula for sensitive skin
Pro tip:Don’t over-push cuticles to avoid infections. Always leave a thin layer intact.
Base Coat Application Secrets
My favorite is two thin coats of Essie’s Bonding Base Coat. Wait 2 minutes between layers. Avoid thick pools in the corners—they cause bubbles. For ridges, apply base coat in vertical strokes instead of horizontal swipes.
| Brand | Key Feature | Application Tip |
|---|---|---|
| OPI | UV protectant | Use a thin layer under glitter nail polish designs |
| Zoya | Fast-drying | Perfect for quick-dry nail polish design routines |
Skipping base coat cuts polish wear time by 40%—don’t skip this step!
Color Theory for Nail Polish Design
Color theory changed how I design nail polish. Learning about color interactions helped me create creative nail designs. First, learn the basics of the color wheel—complementary, analogous, monochromatic, and triadic schemes.
- Complementary: Opposing colors (e.g., red & green) create bold contrasts.
- Analogous: Neighboring hues (e.g., blue, blue-green) for harmonious blends.
- Monochromatic: Tints/shades of one color for minimalist elegance.
- Triadic: Three spaced colors (e.g., red, yellow, blue) for vibrant energy.
| Color Scheme | Description | Example |
|---|---|---|
| Complementary | High-contrast pairings | Blue with orange for dramatic flair |
| Analogous | Smooth transitions between adjacent colors | Purple-pink gradients |
| Monochromatic | Single-color depth variations | Pastel pink layered with deeper berry tones |
Undertones are key! Warm skin tones look great with golden colors, while cool tones suit pink-based hues. I test shades on clients’ hands to ensure they match their undertones. Using translucent polishes adds depth—try shimmer over matte basecoats. This makes even simple creative nail designs stand out.
Basic Nail Design Techniques for Beginners
Starting with the basics is key to building your nail design skills. I learned early on that mastering polish application and simple patterns is crucial. These techniques are the foundation of every successful look. They turn ideas into reality.
Mastering the Perfect Polish Application
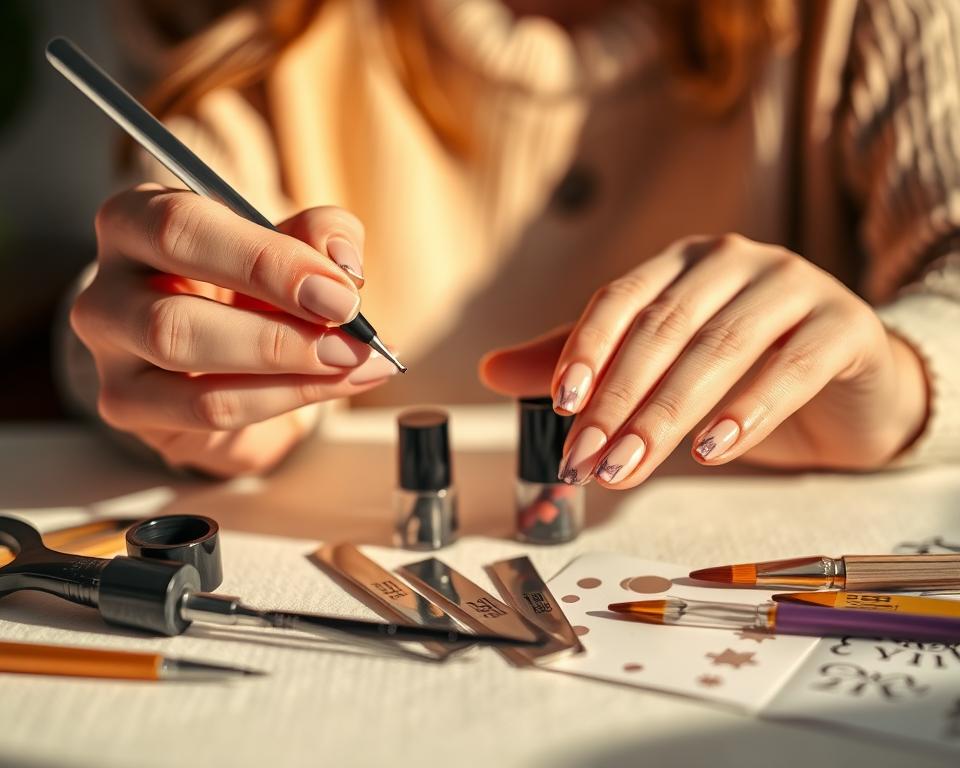
My three-stroke method ensures even coverage without streaks. Here’s how I do it:
- Apply a thin base coat layer. Let it dry completely.
- Use the “W” shape technique: stroke down the center, then each side.
- Buff gently with a clean buffer to smooth edges.
Pro Tip: Let each coat dry between applications to prevent smudging.
Simple Stripes and Dots
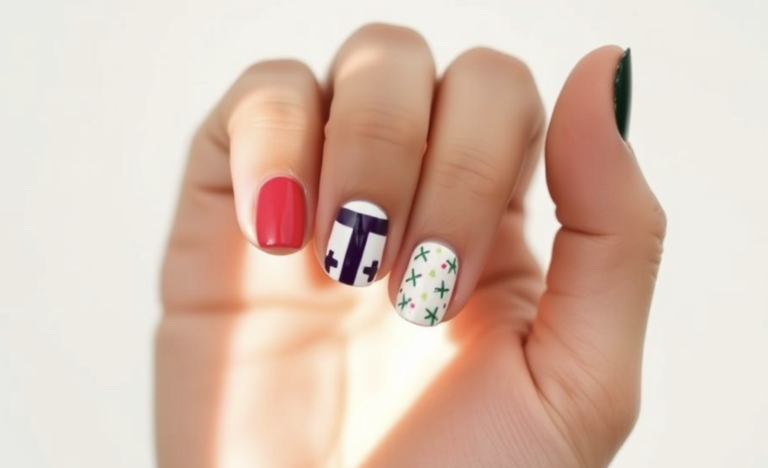
Stripes and dots don’t need special tools. I use tape for clean lines and toothpicks for dots. Try these nail design ideas:
- Stripe Patterns: Combine diagonal and horizontal lines for geometric flair.
- Dot Art: Vary dot sizes to create constellations or polka-dot grids.
Color Blocking Fundamentals
| Technique | Colors to Try | Tools Needed |
|---|---|---|
| Block Layers | Neutrals like red and black | Masking tape |
| Gradient Blocks | Pastels with bold accents | Flat brushes |
Color blocking is about balance. Pair warm and cool tones to make your designs pop.
Ombré and Gradient Effects
My sponge method uses everyday items: apply a base color, then dip a makeup sponge in a second shade. Dab from cuticle to tip for a soft blend. Let dry before sealing with top coat.
Practice these steps weekly to refine your hand. Small adjustments to stripes or gradients can unlock endless nail design ideas. Remember, even pros start with basics—your next masterpiece begins here!
Trendy Nail Designs That Are Taking Over Social Media
When you scroll through Instagram or TikTok, you’ll see trendy nail designs everywhere. These designs range from simple chic to bold patterns. They’re not just trending; they’re here to stay. Let’s explore the latest nail designs that are shaping 2024’s look.
Minimalist Nail Art Trends
Negative space nails, single-line details, and micro-accent tips are all the rage. Imagine a tiny star on one corner or a thin stripe of glitter. These designs let your natural nail shine while staying trendy.
Try pairing pastel base coats with gold foil dots for a modern look.
Bold Geometric Patterns
Geometric shapes like triangles, hexagons, and zigzags are everywhere. Asymmetrical color blocks or retro 90s-inspired chevrons are popular. I’ve seen these designs get lots of attention from clients.
Tools like washi tape help create clean lines without extra practice.
Nature-Inspired Designs
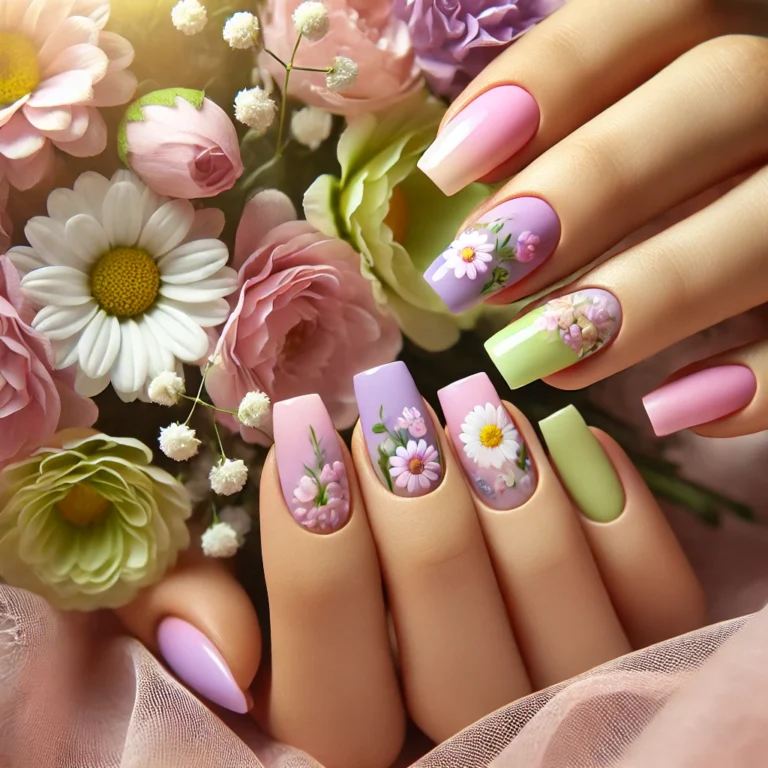
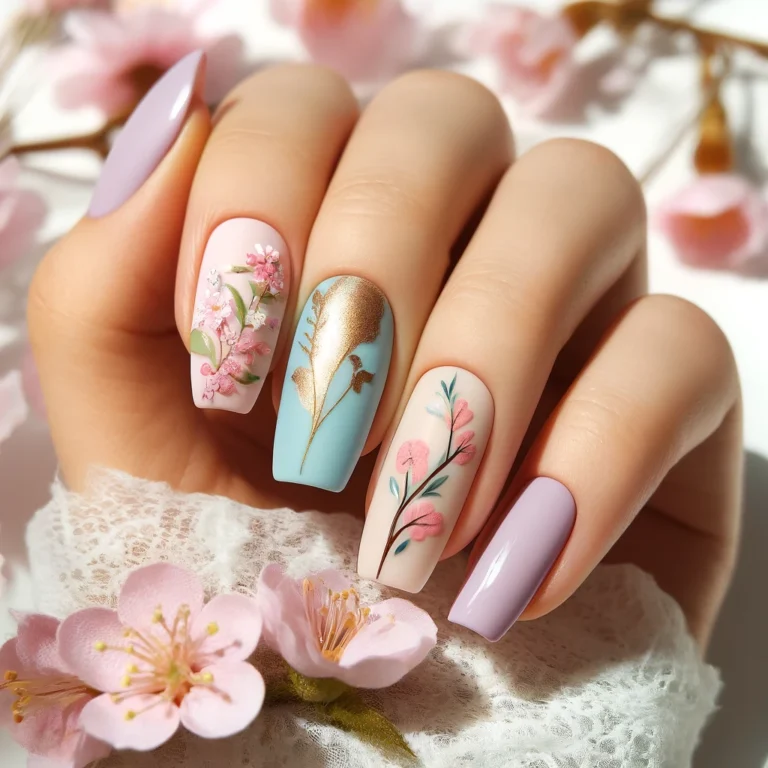
Floral abstracts, marble swirls, and leaf imprints bring nature’s beauty to your nails. Use sponges to mimic petals or drag gels for wood-grain effects. Mixing matte and glossy finishes adds depth.
“The best trends let your creativity bloom. Don’t copy—adapt!”
— Jin Soon Choi, celebrity nail artist
Stay ahead by mixing these trends. Try combining a geometric pattern with a floral accent for something unique. Social media loves originality, so keep experimenting with your favorite techniques.
Advanced Nail Art Techniques to Elevate Your Skills
After learning the basics like stripes and gradients, it’s time to get creative. Mastering nail art takes patience and practice. I’ve spent years perfecting creative nail designs through trial and error.
| Technique | Description | Tools Needed |
|---|---|---|
| Miniature Painting | Painting tiny details like florals or landscapes with precision brushes | .005 detail brushes, magnifying lamp |
| Reverse Stamping | Transfer intricate patterns using pre-designed plates for flawless symmetry | Stamping brushes, acrylic stamping plates |
| Mixed Media | Layering materials like dried petals, metallic foils, or 3D gel sculpting | Micro scissors, adhesive glue, sculpting gel |
Reverse stamping changed my game. It lets you create complex patterns easily. For textured nails, I mix chrome powders with top coat for a metallic look. Thin layers of transparent polish add depth, like watercolor painting.
Start practicing these techniques slowly. Begin with small dots on scrap paper before tackling portraits. Special tools like Japanese Taklon brushes are essential. Remember, every advanced design starts as a sketch. Experiment, document your work, and see mistakes as chances to learn.
Creating Unique Nail Designs with Everyday Items
When I started playing with nail art, I found the coolest unique nail designs come from unexpected places. Turn your kitchen into a creative space with these easy swaps for fancy tools.

Household Tools That Double as Nail Art Equipment
- Bobby pins become dotting tools for polka-dots or glitter clusters
- Old makeup sponges cut into shapes create soft blending effects
- Dental floss loops make perfect marbled swirls when dipped in polish
DIY Stencils and Stamps
Make your own templates from everyday items:
- Clear tape patterns for geometric lines
- Leaf veines pressed into wet polish for organic shapes
- Lace fabric pressed onto nails for delicate patterns
Unexpected Textures and Effects
My favorite creative nail designs come from the pantry:
- Plastic wrap creates natural crackle effects when pressed into gel polish
- Salt sprinkled on wet polish adds gritty texture that peels for 3D details
- Diluted rubbing alcohol drizzled over wet color makes watercolor blooms
These tricks let you get creative without buying special kits. Your kitchen holds the secret to unique manicures that will wow everyone!
Seasonal and Themed Nail Design Ideas
Customizing your nails for holidays, travels, or milestones brings joy. My favorite way is to mix subtle elegance with a theme. Here are my top tips for nail designs that fit any occasion.
Holiday-Inspired Nail Art
For Christmas, I love metallic polishes and simple snowflake decals. Valentine’s Day nails get rosy gradients with gold touches. Halloween nails often have spooky gradients or 3D spiders.
My best holiday nail designs are festive but simple. Try abstract color blocking for New Year’s or subtle pumpkin designs for fall.
Vacation and Travel Themes
Bring your travels to life with these ideas:
| Theme | Nail Design Ideas | Inspiration |
|---|---|---|
| Beach | Blue/white gradients + sand texture polish | Sea glass tones |
| Tropical | Leaf decals with green/yellow ombré | Floral patterns |
| Cultural | Traditional patterns (e.g., henna motifs) | Global art references |
Special Occasion Nail Designs
- Weddings: Soft pastels with delicate pearl accents
- Graduations: Metallic stripes with school colors
- Interviews: Neutral tones with subtle geometric lines
I always sketch ideas in a notebook first. For weddings, I test designs on acrylic tips. My top tip? Use transfer tape for detailed designs to avoid smudges.
These nail design ideas let you celebrate moments without overwhelming your look.
Working with Different Nail Products and Finishes
Choosing the right product is key to successful nail design. I’ve tested many formulas, from gels to hybrids. Each has its own strengths and challenges in nail polish design. Let’s look at what works best for your next project.
| Product Type | Best For | Key Considerations |
|---|---|---|
| Gel Polish | Long-lasting nail polish design | Requires UV light, more drying time |
| Dip Powder | Quick application | Can be brittle without proper prep |
| Traditional Polish | Quick DIY projects | Shorter lifespan |
Finishes like metallics or holographs need smart layering. For example, a cream base under holographic topcoats boosts depth. My go-to method? Apply a clear base, then metallic polish, and seal with a glossy topcoat.
- Always test finishes on a small area first.
- Use clear topcoats to protect metallics from tarnishing.
- Pair gel with durable nail design needs; use traditional polish for quick changes.
Hybrid formulas blend ease and longevity—great for beginners. When mixing products, follow this order: base coat, polish, then topcoat. Gel and dip systems need curing steps, so read instructions carefully. For nail polish design that lasts, match your finish to the product type. My favorite tip? Let each layer dry completely between steps to avoid smudging.
Troubleshooting Common Nail Design Mistakes
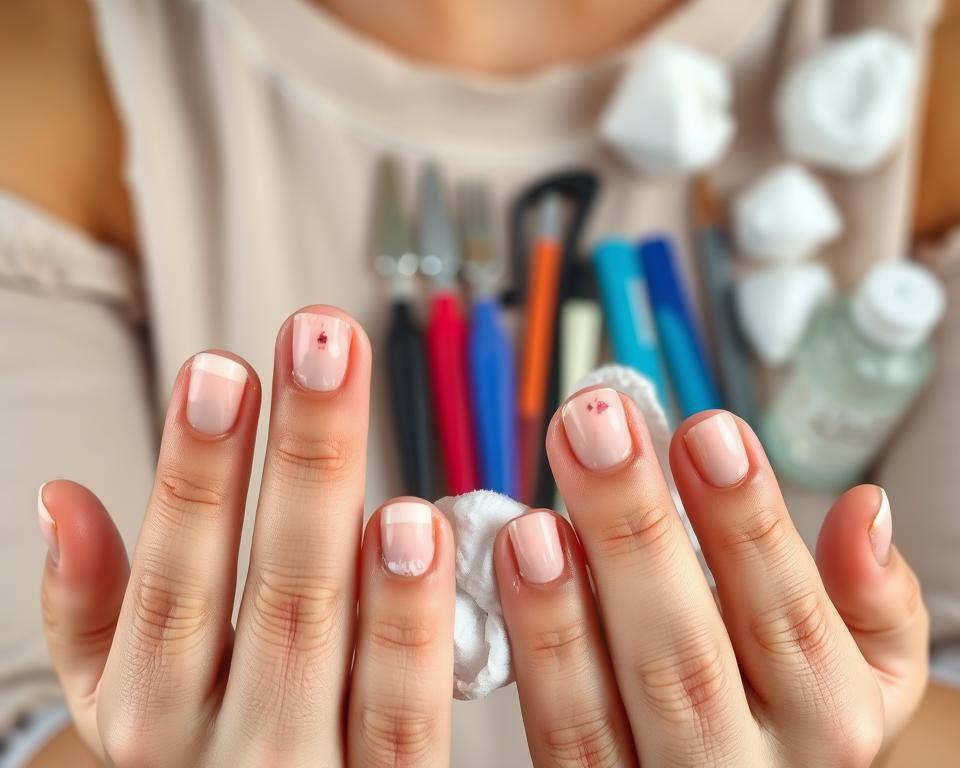
Nail design is an art form, but even seasoned pros face setbacks. Over the years, I’ve turned mishaps into opportunities to refine my techniques. Let’s tackle the most frequent issues and how to fix them quickly.
| Problem | Cause | Fix |
|---|---|---|
| Smudges | Rush drying | Clean with a micro brush dipped in remover |
| Bubbles | Over-shaking polish | Wipe bubbles gently with a tissue before curing |
| Chips | Rough movements | Apply a clear top coat or add glitter accents over chips |
| Staining | Dark polish seeping into cuticles | Use a base coat + acetone soaks for removal |
Fixing Smudges and Smears
When a last-minute smudge ruins a design, grab a 000 brush. Dip it in acetone and gently erase the mark. Reapply polish only on the damaged area to preserve the original nail art.
Dealing with Bubbles in Polish
Shaking polish too hard creates foam. Before applying, tap the bottle’s side to release air bubbles. If bubbles form mid-application, dab them with a lint-free cloth before the coat hardens. For stubborn cases, thin the polish with a quick-dry top coat.
Salvaging Chipped Nail Art
Chips don’t mean starting over. Use a fine brush to paint over flaws with complementary colors. My go-to trick? Turn chips into abstract patterns using metallic foil transfers.
Every mistake is a chance to innovate. By embracing these fixes, you’ll transform imperfections into unique nail design statements.
Extending the Life of Your Nail Designs
Creating beautiful nail designs is a big deal. So, why let them chip quickly? I’ve tried many ways to keep my manicures looking great. The secret is top coats and smart habits. Here’s how to make your nail designs last longer.
Top Coat Techniques for Longevity
My top coat routine is essential. I use a wrap tip method: apply a thin layer over the free edge and sides. Thick coats chip faster. Instead, use two light coats 10 minutes apart.
For detailed designs, gel-like top coats are the best. They protect without yellowing your polish.
Daily Habits That Protect Your Nail Art
- Wear gloves when washing dishes or cleaning—harsh chemicals erode polish.
- Pat hands dry instead of scrubbing to avoid lifting edges.
- Swap alcohol-based sanitizers for gel versions. They’re gentler on polish.
Touch-Up Strategies for Busy Schedules
Even with care, chips can happen. My quick fixes include:
- Spot-treat chips with a tiny brush and matching polish.
- Add micro-glitter over minor wear to refresh the look.
- Reinforce edges with a clear top coat line to hide wear lines.
Small changes can keep your nail designs looking fresh. With these tips, your next manicure will last longer. Your nails should shine as long as your creativity does!
The Best Nail Designs for Different Nail Shapes and Lengths
After years of trying, I found that the best nail designs start with knowing your nails. What looks great on long nails might not work for short ones. Bold patterns can overwhelm small nails. Here’s how I make designs fit every hand.
- Short nails: Choose vertical lines or subtle gradients to make them look longer. Small details like dots or crescents add flair without being too much.
- Long nails: Go for detailed gradients or layered patterns. Designs that tell a story, like floral trails, look amazing here.
Shape also plays a big role. Square nails look great with geometric designs, while almond shapes do well with delicate flowers. Round nails are perfect for circular motifs. For stilettos, I stick to clean lines and metallic accents to keep it simple.
“Every nail shape is a canvas waiting for its perfect design.” — Sarah Lin, Top Nail Artist
I’ve tried over 16+ styles to find what works best. Oval nails love soft gradients, and coffin shapes are perfect for bold splatters. Don’t force a trend—adapt it. Swap tiny dots for a full design on square nails, or simplify busy prints on ballerina nails.
Your nails are more than just a surface—they’re a personal canvas. Whether it’s for everyday or special events, matching your nail art to your natural shape is key. Let your nails inspire your creativity, not hold it back.
Conclusion: Expressing Your Personal Style Through Nail Design
Every brush stroke and creative choice in nail design shows who you are. This guide has shared techniques and ideas to help you grow. But the real magic is when you add your personality to each design.
Your nails become a canvas for expressing your mood, celebrating milestones, or just enjoying the act of creating. Whether it’s a subtle accent or a bold pattern, your nails tell your story.
My own journey showed me that signature styles come from experimenting. Mix different techniques to create looks that match your style. Try pairing simple lines with bold colors or blending seasonal trends into everyday looks.
Take clear photos of your designs and share them online. This way, you can connect with others who love nail art. Remember, there’s no right or wrong here. It’s all about your unique voice in nail design.
What’s most important is the joy of turning inspiration into art. Keep your tools ready, revisit ideas that excite you, and let your creativity grow. Every design is a chance to share your story through this vibrant form of self-expression. Happy designing!
FAQ
What are the current trendy nail designs I should try?
The latest trends include minimalist art, bold geometric patterns, and nature-inspired designs. Instagram and TikTok are great for finding inspiration. I enjoy mixing these styles to make my own unique look!
How can I extend the life of my nail polish design?
To keep your nail art looking fresh, use a top coat and the “wrap tip” technique. Also, apply cuticle oil daily and wear gloves when doing chores. These habits help protect your manicure.
What are some unique nail design ideas for beginners?
Beginners can start with simple designs like stripes, dots, or color blocking. You can even use household items like bobby pins or toothpicks to create amazing designs without special tools!
How do I choose nail designs that suit my nail shape and length?
Knowing your nail shape and length is key to picking the right designs. Short nails look great with vertical designs or mini accents. Long nails are perfect for complex patterns or gradients. Tailoring your designs to your nails always looks best!
What basic tools do I need for nail art?
You’ll need quality nail files, buffers, cuticle tools, dotting tools, and striping brushes. As you get better, you might want to add stamping kits or chrome powders and glitters for more advanced designs.
Can you recommend some best nail designs for special occasions?
For special events like weddings or holidays, I suggest soft gradients or delicate floral designs. Adapting your nail design to the event’s theme adds a personal touch that complements your look perfectly!

One Comment